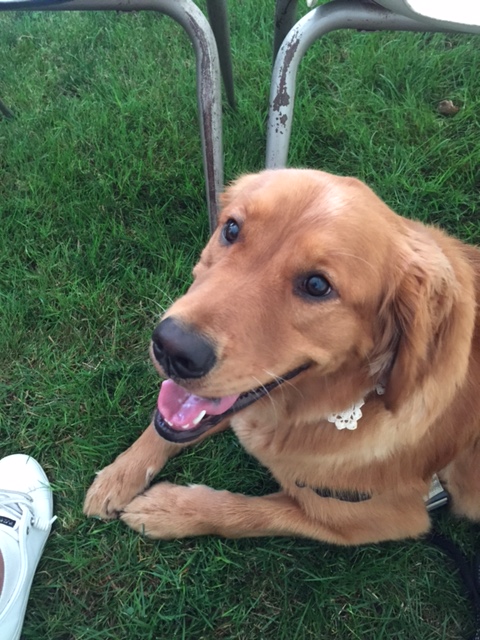
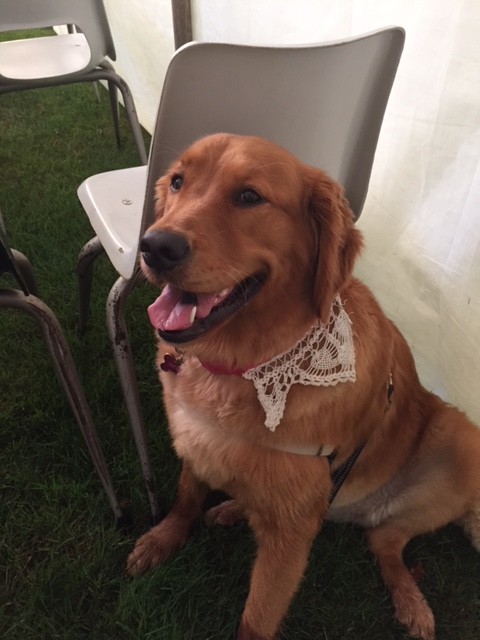
“I’ve invited a few friends over for Cookie Baking Day!!”
“My friend Helen said to come prepared to eat cookies. Well…I’m ready!”
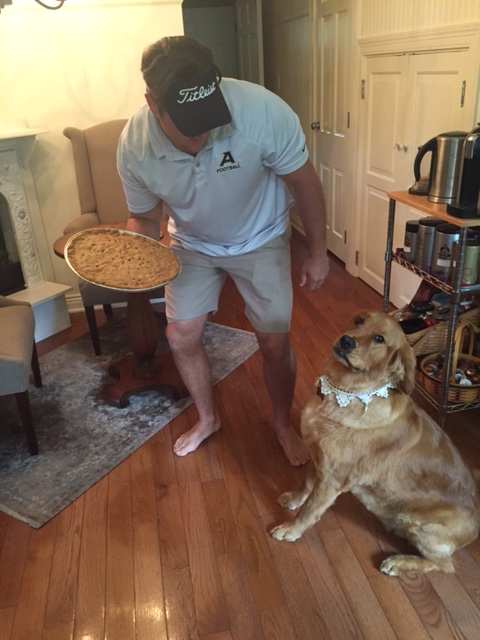
Since Helen has invited so many “friends” to join us I guess we had better prepare for a larger crowd this month!!
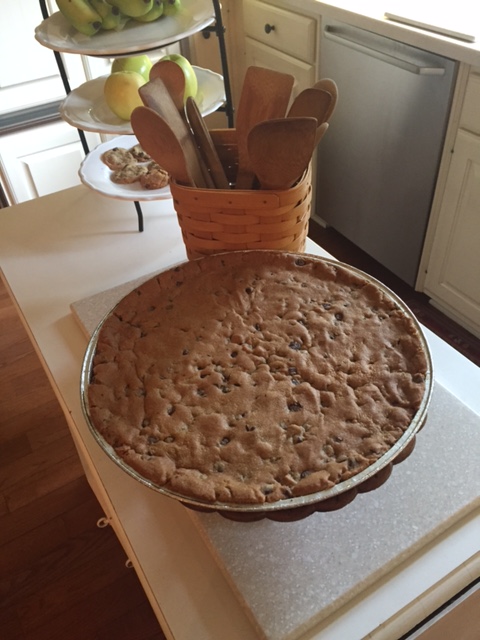
And what better way than with one LARGE COOKIE!
COOKIE CAKE
1 cup crisco
3/4 cup granulated sugar
3/4 cup brown sugar
1 egg
2 1/4 cups all purpose flour
1 tea baking soda
1/2 tea salt
1 package (12 ounces) chocolate chips (I like Hershey’s Best!)
Heat oven to 375. Mix shortening, sugars and egg. Stir in flour, baking soda and salt (dough will be stiff). Stir in chocolate chips.
Spray round aluminum pan lightly with baking spray. Place entire chocolate chip mixture in center of pan and begin to flatten/press evenly, until dough is within 1/2 inch of edge(s). (Dough will spread to edge during baking.)
*Recipe can also be made for individual medium-size cookies. Drop dough instead by rounded teaspoonfuls about 2 inches apart onto ungreased cookie sheet. Bake until light brown, 8 to 10 minutes. (Centers will be soft.)
Makes 1 round cookie-cake
0r
6 dozen medium-size chocolate chip cookies.
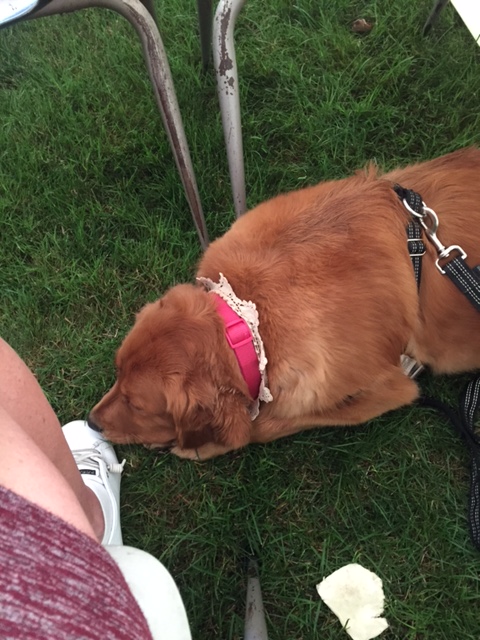
“Wait, so you mean if someone ‘dresses up’ they can expect bigger cookies to be served?”
“If so, I sure do hope this will work!!”
nibble, nibble, nibble…
crumbs on the plate.
nibble, nibble, nibble…
it’s almost too late!
Hurry-Up!
Or you’ll miss the last bite
of something that is great!
hugs n’ blessings to ALL the friends who joined us this month to share in Cookie Baking Day!
and a plethora of 3hugs&blessings came flooding through my heart
each of these days!
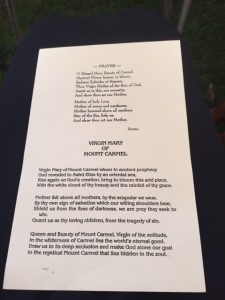
Prayers of Carmel
Most specifically,
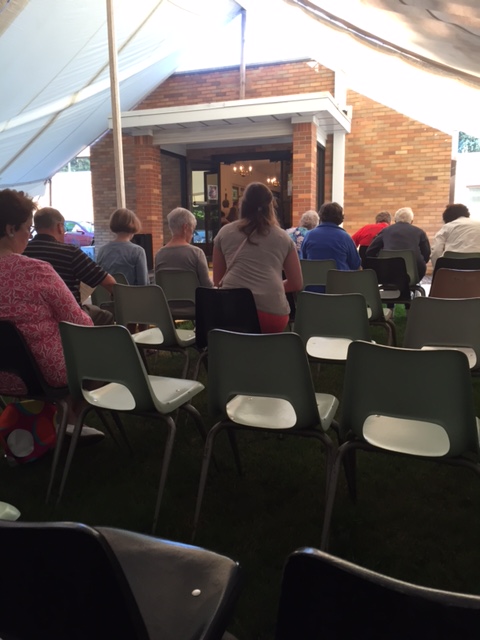
Helen and I had a grand time attending Mass each day at
the Carmelite Monastery together!
Helen patiently awaiting the start of Mass.Prayers of the Faithful.The Monastery fills up to capacity each year. Because of this Helen was able to enjoy the over-flow seating with all of us in the tent just outside the main entrance!
Growing up my childhood home was merely blocks away from the Monastery and I would often ride my bicycle there, tuck it in the south-west corner outside the Chapel, and tip-toe inside to sit in the silence.
Thankfully, my mother never knew of my trips to the Monastery as I probably would have met with a consequence had she discovered I’d gone beyond the “permissible-bike-riding-boundaries.” But even at the risk of disobeying my mother (yes, I took this to confession frequently, giggles…) I cherished these moments I snuck away!
Since moving to our new home just a few short years ago & finding ourselves within the all-too-familiar area, as where Cuppycake & I both shared the same childhood stomping-grounds; I often find myself once again at the Carmelite Monastery. I no longer travel there on a bicycle but instead I have Helen walking by my side! I take great delight in the fact that it is Helen I now tuck in the same south-west corner as where I long-ago placed my pink, white, & purple banana-seat bike before tip-toeing back into the silence! What a relief it is not to worry over any consequences of being discovered in my travels too, as my mother now trusts I understand what to do in on-coming traffic! (Giggles.)
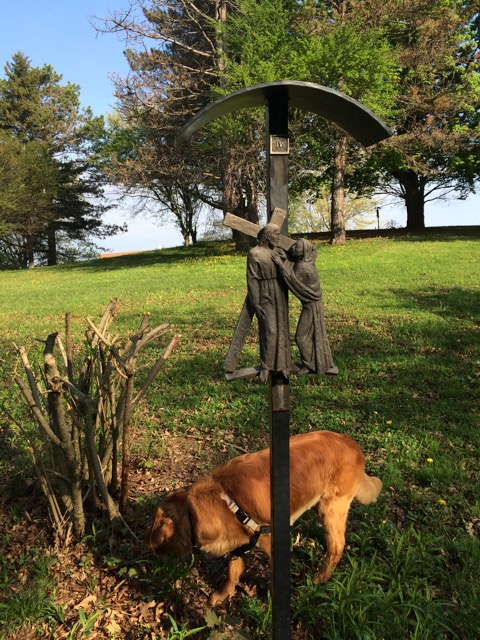
Helen often walks the Stations of the Cross with me prior to Morning Mass at the Carmelite Monastery.
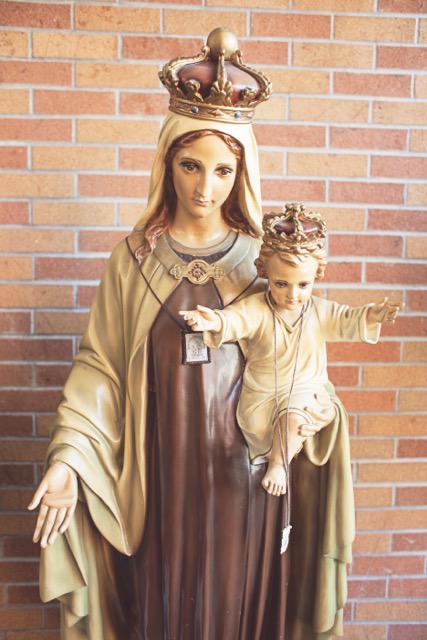
It is easy to understand why I have always had such a tender affection for Our Lady of Carmel. Not only because of the Carmelite Sisters & the impact they had in my spiritual foundation, but growing up our family were also members of Our Lady of Mt. Carmel Parish (just down the road a wee-bit) under the guidance of Rev. Monsignor Joseph Scheffner and for a short time I even attended Our Lady of Mt. Carmel grade school.
One of my very favorite statues of Our Lady is: Our Lady of Mt. Carmel placed at OLMC School in Erie, Pa
I was absolutely spell-bound (with affection) for our Principal, Sr. Norma and also Sister Marie who I had as both my first & second grade teacher. Both were Sisters of the Divine Spirit Congregation and I simply adored them and the habits which were worn by their Religious Order!
Quite magically they had in my child’s view what I judged to be, the most sophisticated habits of all the nuns!
The perfectly pressed, gray-blue, 3/4 length tunics with the peter-pan collars edged in white and silver-grey buttons that ran all the way up the front…were beautiful to me. They even had a co-ordinating jacket in the same grey-blue material to match! And there was the slim matching belt which had their rosaries cinched to them at the side, that neatly tucked into the pocket of their tunic.
This is Sister Marianne teaching at Our Lady of Peace in Canton, Ohio. Photo courtesy of the Congregation of the Divine Spirit Facebook Page.
And Sister Norma had the largest rosary of them all!
Which always swung gently at her side.
You could always hear her coming down the hall not because of the click of her heels on the polished high-gloss tiled floors, because her shoes of course had rubber soles on them so that she could successfully check on any inappropriate behaviour in the girl’s lavatory! But because of the beads lightly sweeping across her hip with each step she took. As a child it was like Joan of Arc with a sword at her side defending our school from the wickedness & the snares of the Devil! I’m quite sure I sought frequent hugs from her, not only because of my affections but…just for the chance of rubbing the huge beads between my tiny-little fingers!
As a head-covering they wore the more traditional white coif with a long navy blue veil or on special occassions a short (much like a pill-box) hat. And my absolute FAVORITE part were the white gloves and navy blue pumps they wore during the Special Sacramental occassions!
I did not realize until I was much older that although the Sisters were a vibrant part of Our Lady of Mt. Carmel School they were not actually members of the Carmelite Order. Giggles. I did not fully understanding yet the difference between Religious Orders, so I believed all Sisters to be one in the same Order! I guess I believed there were the ‘Cloistered Sisters’ of Mt. Carmel and the ‘Teaching Sisters’ at our school and they just lived in different portions of the same Monastery!
Which probably explains why I was initially drawn to visit the Monastery…if only for the opportuinty to hug Sister Norma once again and feel those magical rosary beads between my fingers!
But even though I never could visually see the Discalced Carmelites because they are indeed Cloistered Sisters of the Carmelite Monastery, I still adored them just as much as Sister Norma & Sister Marie. They I discovered, (even still today,) wear the traditional habits of a Carmelite & they are most times bare-footed within their community!
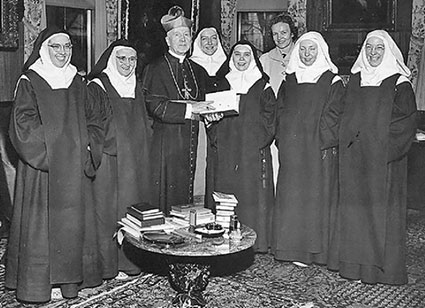
The first six Discalced Carmelite Sisters of the Carmelite Monastery in Erie, Pa, along with Bishop Gannon.
Sixty years ago, desirous of building a seminary in his diocese of Erie, Pennsylvania, the Most Rev. John Mark Gannon sought prayer support for his seminarians and vocations. Turning to the Carmel of Wheeling, West Virginia, the Archbishop extended an invitation, asking that some of the nuns be sent for this purpose.
Led by Mother Mary of Jesus Crucified as first Prioress, six Carmelites arrived in Erie in February of 1957 and founded the Carmel of the Holy Family on a corner of the future seminary property. The last member of these original six, Mother Emmanuel of the Mother of God, recently passed away on April 9, 2016.
I feel so blessed to have had the Carmelite Monastery be such an integral part of my own personal faith-formation and still rely on the prayer-support the Sisters offer me and our family in both trying and celebratory moments.
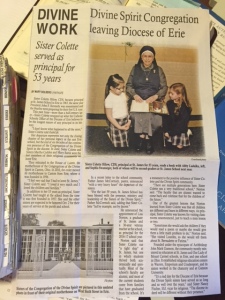
For the past six decades we have also been blessed to have had the continuous presence of the Divine Spirit Religious Order in our Diocese. Sadly, this wonderful legacy came to an end this past June, as the last remaining members of this religious community left our Diocese. They relocated to the House of Loreto, the motherhouse of the Congregation of the Divine Spirit in Canton, Ohio. Originally founded in 1956 in Erie, the Motherhouse was moved there in 2010. Sr. Colette, one of the last remaining in Erie from her Order, who first began teaching in our Diocese in 1957, finished up her 53 years as Prinicipal of St. James School this past school year and now joins the other Sisters in Canton who have been waiting for her there, wearing the perfectly pressed gray-blue tunics with magical rosary beads at their sides.
Article written by Mary Solberg from FAITHLIFE Newspapaer in Erie, Pa
I love the Days of Prayer at the Carmelite Monastery!
I look forward to attending them every year!
And on this 3hugs&blessings thursday I am humbled by the heritage of our faith, I am grateful for the presence of the Discalced Carmelite Sisters in our Diocese and I give thanks for the Sisters of the Divine Spirit and the seeds of faith they sowed in my life…that tilled by the prayers of the Carlmelites, ultimately produced an abundunt harvest of faith!
And I do so very hope they will still wear
the white gloves & navy blue pumps from time to time!
“You shall multiply the nation,
You shall increase their gladness;
They will be glad in Your presence
As with the gladness of harvest…”
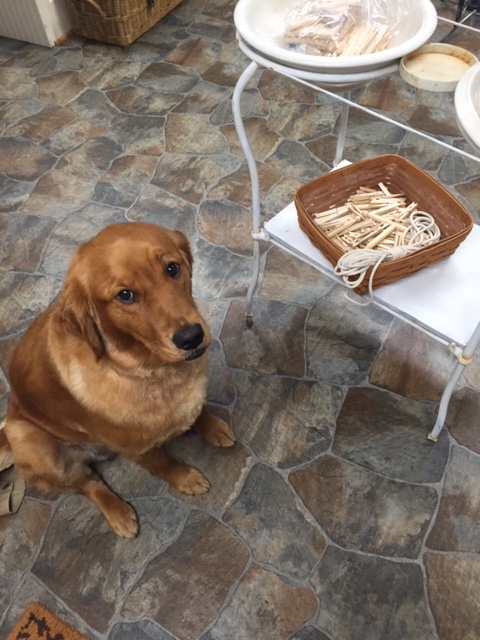
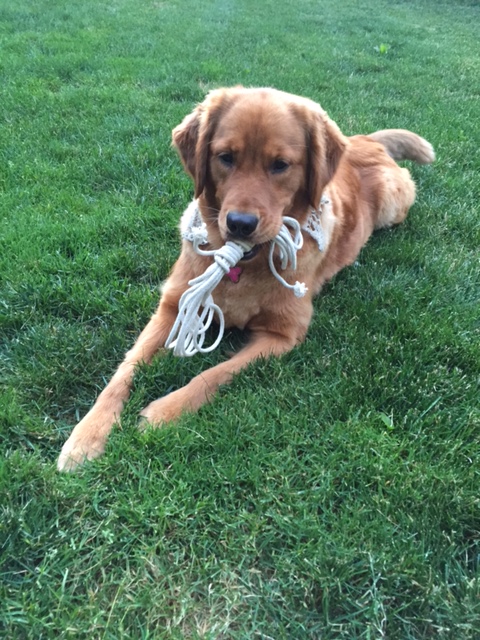
“If today is finally Cookie-Baking Day…why did you bring me into the laundry room??”
“So let me try to understand this…
you plan to use clothespins to bake cookies???”
“Call me a monkey, but I’m not holding out much hope these will taste very good.”
But they will, Helen! I promise!!!
“I’ll just hold on to this rope, so you don’t try to bake with it too!”
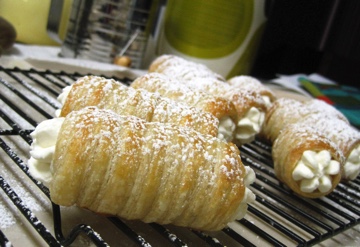
This month I’ve chosen to bake the Clothespin Cookie!
For those who don’t know – Clothespin Cookies are flaky pastry tubes covered in powdered sugar and filled with a creamy buttery icing. Another name for them is what ‘Pittsburghers’ call, the Lady Lock!
This is one of our son-in-law’s family favorites and since they will all be together this Fourth of July Holiday I’ve decided to bake these in honor of them (all!)
(My son-in-law partaking in his favorite 4th of July Activity!)
They are so fond of them that our son-in-law’s father, Greg, has been rumored to sneak a few from the freezer from time to time! The prime-suspect everytime his lovely wife, Sheila, discovers an empty ‘once-filled’ cookie container; the freezer is currently being measured for a lock, now that Greg has moved his office to the basement where the freezer resides. (giggles!)
Who wouldn’t want to nibble on these?
And since Helen is so bewildered to be using clothespins in the actual baking process…I have decided the easiest way to do this is to walk through from beginning to end and share the recipes and procedures as we go!
Helen ran off with the rope shortly after this picture was taken incase I had any crazy ideas.
As far as tools you will want around 50 old school round clothespins; you do not want the kind that have the metal thingies in them to pinch, you want approximately 4″ long round peg-style ones. You will also need aluminum foil, a rolling pin, pizza cutter, non-stick spray & a cooling rack (ideally), a pastry bag to fill them is also quite handy (but a gallon baggie can be used in a pinch here, too) and a way to dust with powdered sugar – I use a small hand strainer.
Clothespin (Ladylock) Dough makes about 52
This recipe is made using the Pie Dough Method of mixing, meaning the fat is cut into the dry ingredients, the liquid ingredients are combined then the 2 are folded together using as little mixing as possible so as to develop as little gluten as possible – over developing gluten makes this style of pastry tough and dense, not light & flaky. Another factor to this is temperature! You want the fats to stay cold, so freeze the shortening a few hours before making the dough and cube both the shortening and the butter as soon as you are ready to start. This dough needs to rest & chill before rolling; you may go as long as overnight and as little as 2 hours with no noticeable differences in the end pastry.
3 1/2 cups Flour
8oz Butter, cold & cubed
10 Tbsp Shortening, cold & cubed
1/4 cup Sugar
pinch Salt
3/4 cup Cold Water
2 Egg Yolks
1 Tbsp Vanilla
Cut the cold, cubed fat(s) into the dry ingredients with a pastry cutter or forks until there are no large chunks of fat & everything is incorporated.
Mix together the water, egg yolk & vanilla. Make a well in the center of the dry ingredients to pour the liquid into. Fold together with a rubber spatula until it comes together and forms a dough, about 12-15 turns. Form together to make a dough ball, divide into thirds and form each into a disk. Wrap in plastic wrap and refrigerate for at least 2 hours.
Use round peg style clothespins covered in aluminum foil & sprayed with non-stick spray. The foil wrap job doesn’t need to be neat; however, it is more important to leave a piece that you can use to remove the mold easily! *There are also stainless baking molds available in any number of sizes that I am sure are really quite nice, but they are also quite expensive, especially compared to the cost of the clothespins. (See photo above.) Plus, I must admitt, there is a bit of romantic-nostalgia to baking them using an old-fashion clothespin!
While the dough chills you can get your molds prepped. You will bake these on parchment lined sheet trays, so get a couple of those set up, too!
Making the Ladylock Shells
Roll this dough in a 50/50 mix of flour & sugar mixed together. Preheat your oven to 350 degrees & have your prepped molds & pans ready.
Sprinkle your work surface liberally and start rolling. When you are done you want a piece of dough, roughly the shape of a rectangle, that can be trimmed to a rectangle that is 12″ wide and 1/8″ thick. On my first roll I get a 12″x14″ rectangle and they get bigger from there because I roll the scraps into each new disk of dough. If that seems like it might be too much dough to work with throw the scraps back in the fridge as you go, remold them into a disk & roll this out, same as the others.
The dough should be uniformly thin, as close to 1/8″ as you can get and even. Use your rolling pin, as a guide, running the pizza wheel cutter up against the pin and cutting in even 1″ increments across the dough.
Time to wrap the dough around your molds – if you haven’t sprayed them down yet please do so now! The dough must overlap as you are rolling it on to the molds, same us you would a bandage. Wrap the dough once around the bottom of the pin then spiral upward. Lay the shell on a parchment lined tray. Space them evenly apart, you can generally fit about 15 per half sheet tray. As you fill a tray move them into the heated oven for 20 minutes. The shells are done when the pastry looks dry and and baked through. They may take on a little bit of color, but hardly any (ideally.)
When the shells are baked take them out of the oven and lest them sit for 1 minute.
Literally! 1 minute only!
Then start unmolding them, placing the shells on a cooling rack. To unmold hold the shell delicately in your hand and gently pull the clothespins out. Doing it while they are hot gives some flexibility to the dough. If you do not get them off the molds immediately you will have trouble getting them off in one piece; as the dough cools it gets crisp and crisp is not conducive to pulling out molds!
Let the shells cool completely before filling.
yummm…the FILLING!
Buttery Buttercream to Fill Clothespin Cookies
There are twentybillion different kinds of buttercream!! There are Italian ones and meringue ones and French ones and American ones and and and…
This is an American buttercream but it is far less sweet than a typical American decorators icing, more whipped for airy lightness and is perfect piped into these cookies. Use SALTED butter for this. If you use unsalted add a pinch while the butter whips.
The butter for this needs to be soft, not just room temp but softer. I suggest leaving it near the stove while you are baking. Use the whisk attachment on a mixer, to get as much air in there as possible!
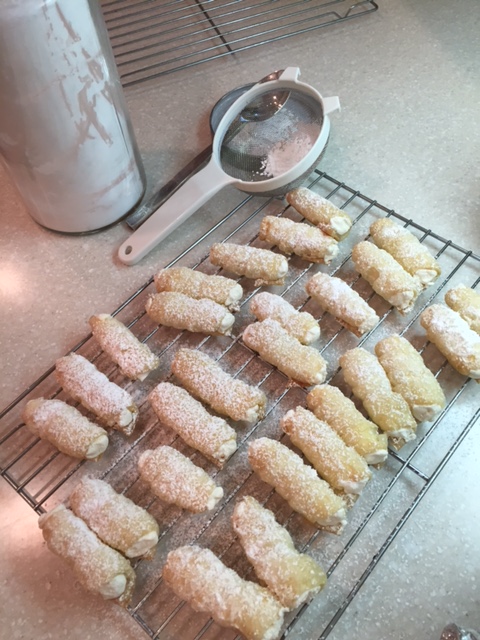
Whip the softened butter until it is light, glossy and almost white in color; this takes time, so be patient! When the butter is lightened up add the powdered sugar & vanilla. Mix on low until incorporated then whip on high until light, airy & fluffy. The buttercream should be a light creamy white in color and “stiffly” fluffy. Fill a pastry bag, I fit mine with a narrow tube tip but snipping off the top of a disposable bag or gallon baggie also works fine. Fill each shell with a squeeze on each end being careful not to blop all out the ends. When they are filled lightly sprinkle with powdered sugar.
A flaky, lightly sweet, vanilla scented crust filled with a lighter than air buttery buttercream all dusted with powdered sugar! Yummmmmmm.
The perfect ladylock. Out of your kitchen. Whenever you want.
Or, if it suits you better, freeze them!
And just like Greg they’ll be available to nibble (just a few) without anyone ever knowing!
Except maybe when this happens…
Aside(s):
The shells freeze well – but most baking sites recommend you don’t fill them before you freeze for best results.
Freeze in layers with parchment in between the layers in an airtight container.
*They truthfully do freeze pretty well filled, but the pastry is just a tidge moist after thawing, (as would be expected.) Same freezing instructions- layers, parchment, airtight.
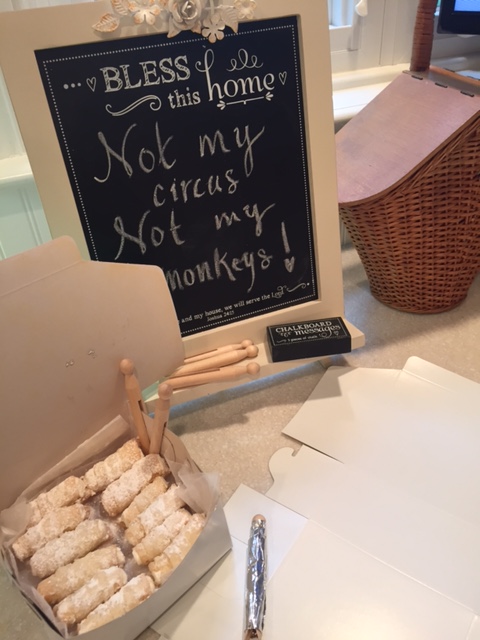
You can order your own bakery-boxes from most local paper supply companies. I purchase these in larger quantities, so that I may always have some on hand to help distribute such lovely & yummy treats!
nibble, nibble, nibble…
crumbs on the plate.
nibble, nibble, nibble…
it’s almost too late!
Hurry-Up!
Or you’ll miss the last bite
of something that is great!
Good thing I’m not a monkey!
hugs n’ blessings for all those enjoying the circus of life with treats along the way!